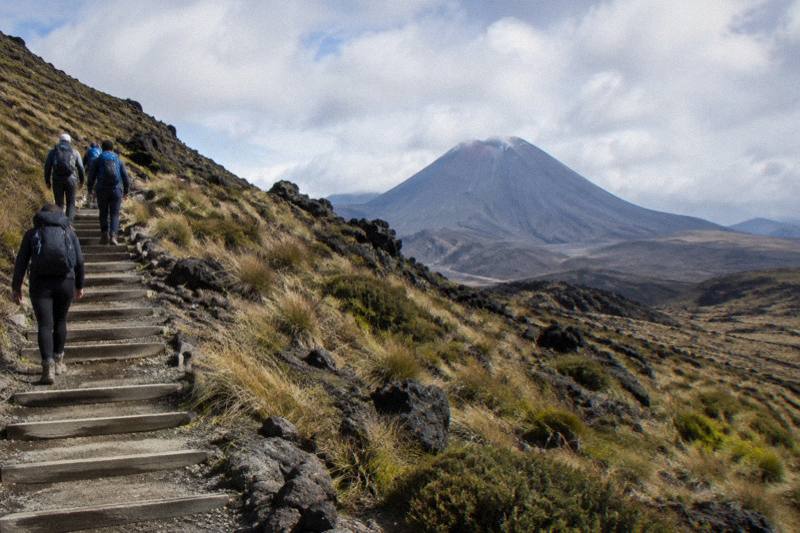
What Is The Hardest Part Of The Tongariro Crossing?
The hardest parts of the Tongariro Alpine Crossing, explained: the Devils Staircase, Red Crater, the scree descent and the long walk out, with what a guided tour changes.
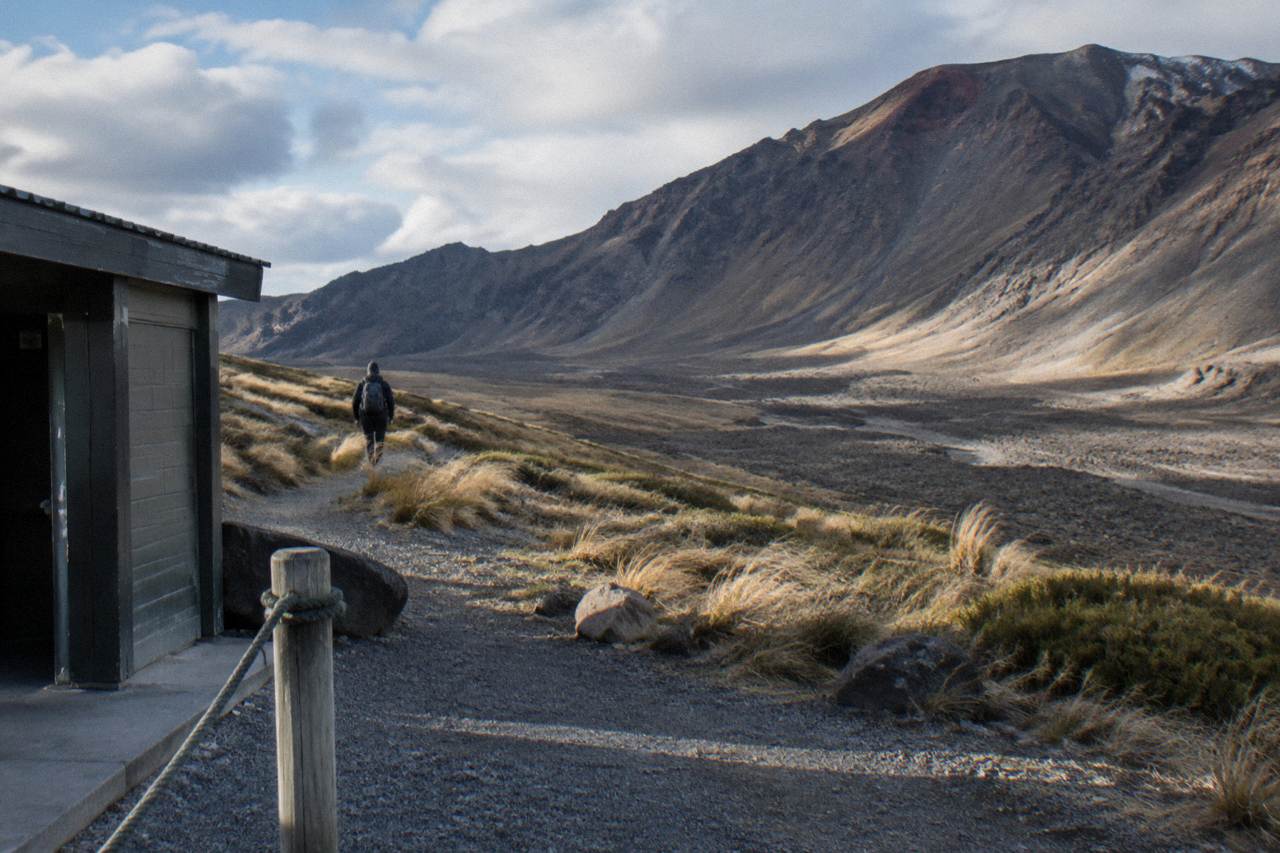
Hazard notes from the Department of Conservation (DOC) point to the Red Crater ascent and its loose-rock rim on the Tongariro Alpine Crossing, where a steep climb meets unstable scoria and exposure to wind, though DOC ranks no single section as the hardest. Close behind it are the roughly 350 m staircase climb to South Crater and the steep scree descent to the Emerald Lakes, followed by the long stepped descent to Ketetahi Road. To see how these sections feel with a guide along, the walkthrough of a guided Tongariro hike covers the route, tour prices and what a guide adds.
That ranking comes from how DOC itself describes the route rather than from traveller folklore. The department's track notes name the loose rock on Red Crater as a major slip hazard and warn that the many steps on the descent trouble weaker knees. The full track is 20.2 km one way, climbing from 1120 m at Mangatepopo to the 1886 m crater rim and dropping to about 760 m at Ketetahi Road, with an elevation change of plus and minus 1196 m. DOC rates the fitness requirement as High and the gradient as steep and undulating, and it allows 7 to 8 hours of walking from November to April and 9 hours from May to October.
None of that means the track is closed to ordinary fit walkers. It means the difficulty is concentrated in four or five identifiable stretches rather than spread evenly, and knowing where those stretches sit changes how you pace the day, what you carry, and whether you decide a guide is worth it. The sections below take each hard stretch in the order you meet it, explain what makes it hard, and set out what a guided tour or a shuttle changes about the experience.
How Hard Is The Devils Staircase Climb To South Crater?
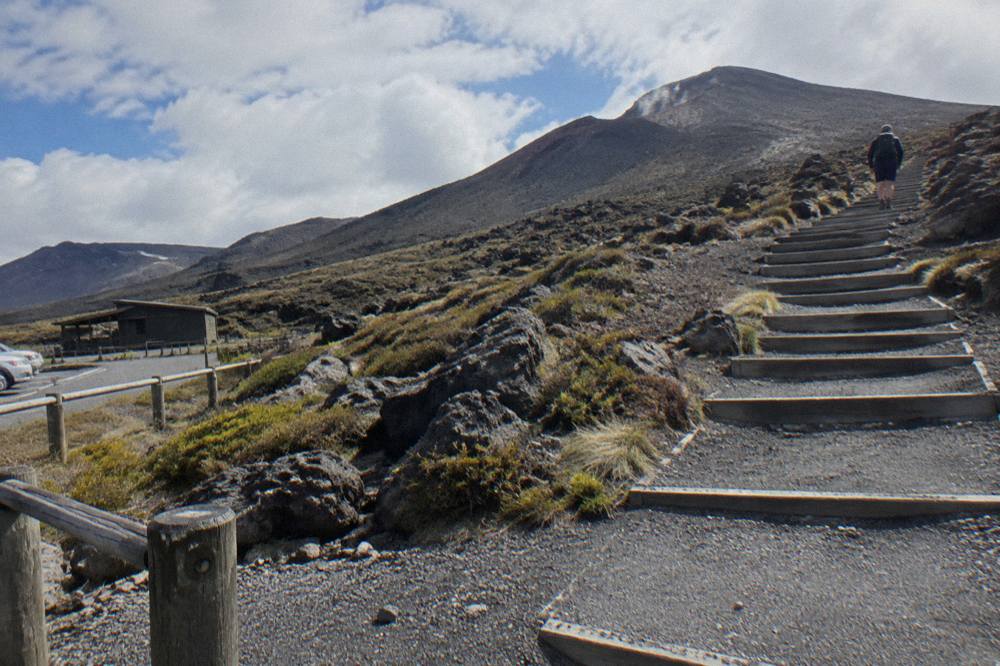
The Devils Staircase is a steady climb of around 350 m up a staircase to the South Crater plateau, and it is the first point where the track stops feeling like a valley walk and starts feeling like a mountain. DOC describes it as a boardwalk and staircase sequence through Mangatepopo Valley before the gradient settles onto the plateau. Most walkers find it a grind rather than a technical challenge.
The staircase earns its reputation through rhythm rather than danger. You leave the easy valley floor, where the first 5.4 km is shared with the Soda Springs Walk, a two-hour return option for people who do not have the fitness for the harder parts, and then the steps simply keep coming. There are no scrambling moves and no exposure; the difficulty is sustained effort at increasing altitude, on a surface that can be wet or icy outside the core summer months. DOC expects ice on the track between April and October, and its own winter guidance is blunt that 38 percent of tramping injuries come from slipping.
Pacing matters more than power. Walkers who attack the staircase at valley-floor speed routinely blow up on it, then have nothing left for the harder climbing above South Crater. A steadier approach, short rests at the switchback corners, and a realistic sense of how much day remains serve better than fitness alone. This is also the stretch where a guide's presence first pays off on the guided tours, because the pace is set for the whole group rather than for the fittest person in it.
Adrift Tongariro runs the three guided tours available here, including the Adrift Tongariro premium guided Crossing hike, from $253 per person, rated 4.6 across 241 reviews, an 8 to 9 hour guided day with return transport included from the Adrift base at 53 Carroll Street, National Park Village. Details are on the guided hike overview page.
Why Is The Red Crater Ascent So Demanding?
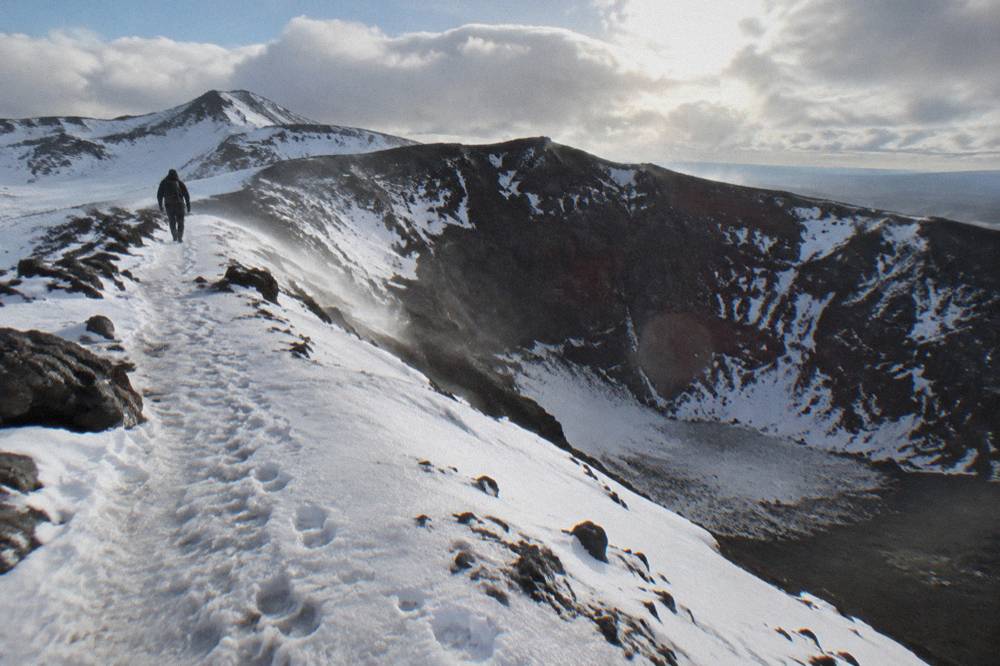
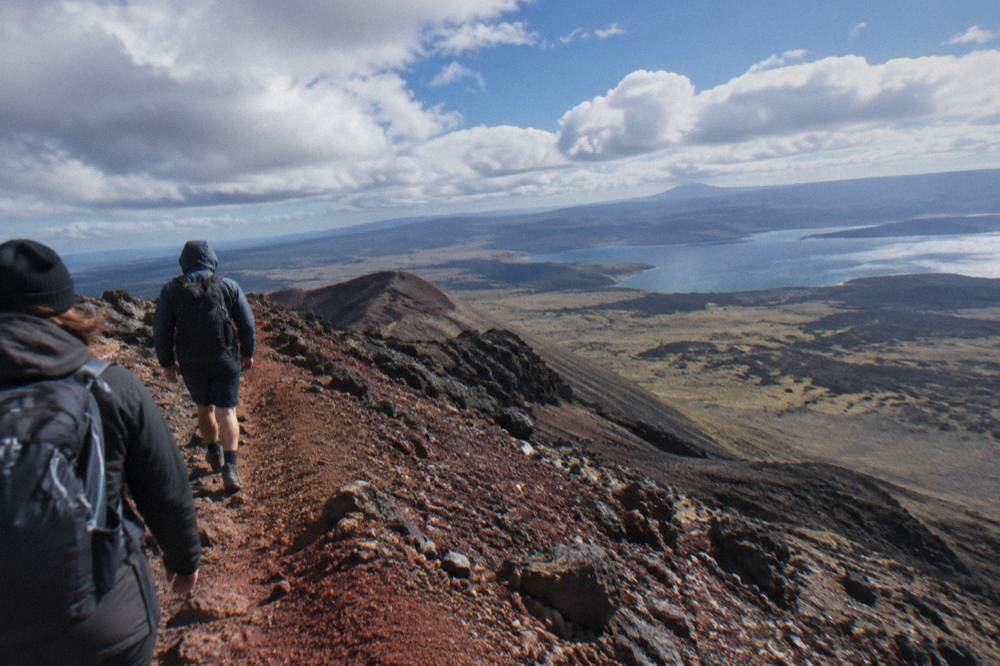
Red Crater is the high point of the Crossing at 1886 m, and DOC names its loose rock as a major slip hazard. The ascent from South Crater combines steep grade, unstable footing underfoot and full exposure to wind, which is why most experienced walkers call this the hardest single part of the whole track, harder than the staircase that preceded it.
Three things stack on top of each other here. First, the grade: after the relative flat of the South Crater plateau the track rears upward, and by this point you have already been walking for hours. Second, the surface: the crater's slopes are made of loose volcanic scoria that slides underfoot on both the way up and the way down, so every step costs more than it looks. Third, the exposure: the ridge gathers wind, and DOC's own temperature rule makes the stakes plain. On a calm day, Red Crater is at least 10 °C colder than Taupo and 5 °C colder than the track start, and you subtract another 2 °C for every 10 km/h of wind. A pleasant lakeside morning in Taupo can mean a rim hovering near freezing.
The volcanic setting is part of why the rules here are strict. DOC notes the Crossing traverses an active volcanic area, with a hazard zone of a 3 km radius around each of the three Tongariro vents, and the most recent eruption from Te Maari was in 2012. That history is why the track is monitored and why sections close when volcanic activity changes. It is also why walkers are asked to respect the mountains: Ngati Hikairo ki Tongariro, guardians of the maunga, ask visitors not to touch or enter any of the waterways, including the alpine lakes just below the crater.
The practical advice is simple. Do not treat the summit of Red Crater as the finish line, because the descent immediately after it is where several of the day's injuries happen. Take the climb slowly, keep food and water accessible rather than buried, and if the wind is strong enough to make you lean into it, treat that as information about the ridge above. DOC's summer advisory marks days when the Red Crater forecast reaches thresholds such as average winds of 55 kph or gusts of 70 kph or more. It is advisory, not a ban, so operators decide whether to run on those days; under their concessions, operators have agreed not to operate when a Hazardous Weather Warning is issued.
Deciding between a supported day and walking it alone? Check availability on the half-day option, and read how the three formats compare in the tours by departure town guide.
Is The Scree Descent To Emerald Lakes The Real Test?
For many walkers, yes. The steep scree descent from the Red Crater rim to the Emerald Lakes is technically harder than the climb, because descending loose rock punishes tired legs and weak knees, and DOC explicitly flags both the slip hazard and the steps further down as trouble for weaker joints. Going down is where concentration has to hold.
The psychology of the scree run catches people out. On the ascent you can see the target and measure progress. On the descent the surface moves with you: each footstep slides a little, the slope is steep, and the Emerald Lakes, brilliant green below, pull the eye away from foot placement. Walkers who have spent their remaining energy on the crater climb often arrive here with nothing left in the stabilising muscles that control a downhill step. That is not a fitness problem you can outrun on the day; it is a pacing problem decided hours earlier at the staircase.
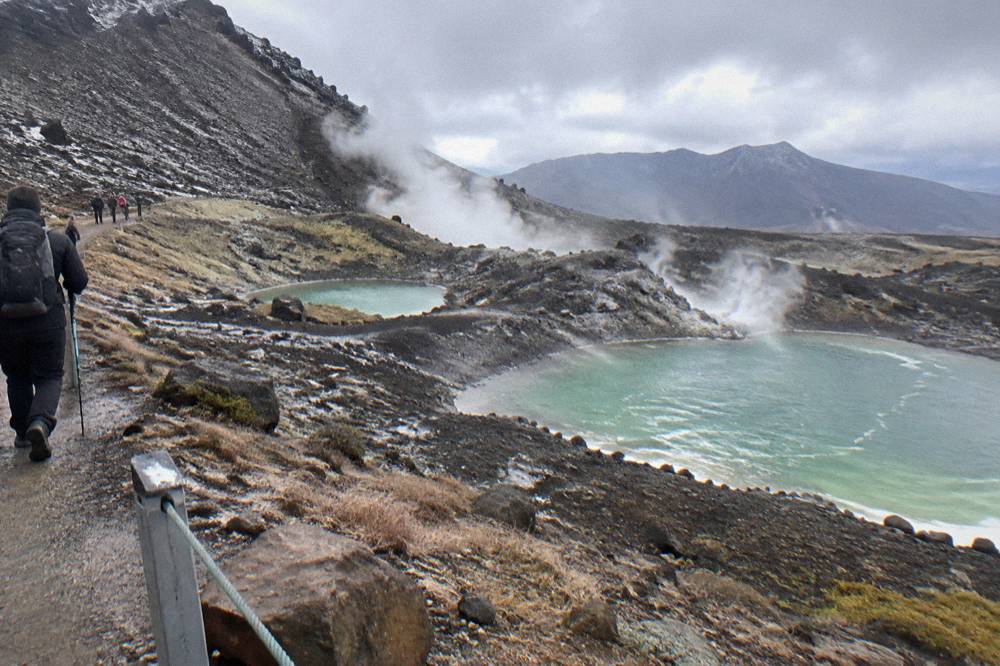
The lakes themselves deserve a moment, because they are the emotional reward of the Crossing. Their colour comes from minerals washed down from the geothermal area above, and fumaroles, the steam vents, line the slopes nearby. DOC asks visitors not to approach the steam vents and not to touch or enter any of the lakes, a request from Ngati Hikairo ki Tongariro that reflects the sacred status of the waterways on the maunga. Pausing to look rather than to paddle also happens to be the safe choice on a slope of hot, loose ground.
Good technique shortens the risk window. Short steps, weight kept over the feet, poles if you use them, and an unhurried line down the established route all help. This is the stretch where guided groups slow visibly, where the guide's route choice through the scree matters, and where the crampons and ice axes supplied on the Adrift guided tours for winter conditions, if required, transition from backpack weight to essential equipment.
Does The Long Descent To Ketetahi Road Hurt More Than The Climbs?
The final descent, a long zig-zag down the northern slopes with views over Lake Rotoaira and Lake Taupo, then through forest to Ketetahi Road at 760 m, is the stretch most underestimated by first-timers. DOC notes the many steps can trouble weaker knees, and by this point the day is 15 or more kilometres old. It hurts because it is long, not because it is steep.
There is no difficulty that can be pointed at, no single obstacle, just thousands of steps on a knee joint that has already absorbed 1196 m of elevation change. The final hour to the road end is one long descent, and DOC's track description warns it is hard on the knees. The reason is arithmetic: descending is eccentric loading, and eccentric loading is what makes legs ache two days later.
There is a mental component too. The view opens out magnificently over Lake Rotoaira and Lake Taupo, and that openness tricks the eye into reading the car park as closer than it is. In poor visibility the same stretch feels endless. Two DOC-named poor-weather alternatives, the Taranaki Falls Walking Track and the Tama Lakes Track, exist precisely because people sometimes need to abandon the high route and still have a day in the mountains.
The honest counterweights are pacing and footwear. Sturdy boots, as DOC's gear guidance insists, do real work on the zig-zags, and a day planned around a 7 to 8 hour walking time rather than a heroic 5 hour one leaves enough in the legs to finish upright. Toilets sit every 1 to 2 hours along the track, and DOC notes that if there is a queue at Mangatepopo the next toilets are 1 km, about 20 minutes, on, so plan water accordingly, carrying 2 to 3 litres because track water is not drinkable.
How Does Winter Change The Hardest Parts?
From May to late October DOC reclassifies the Crossing from an Intermediate tramping track to an Expert route, snow-covered and very icy in sections, with a 9 hour walking estimate and only 9 to 11 hours of daylight. Every hard stretch named above gets harder, and the hazards change from fatigue to ice, avalanche and navigation.
The winter track is genuinely a different proposition, and DOC's language is not marketing caution. Crampons, ice axe and helmet are essential, and so, in DOC's words, is competency using them. Independent winter walkers are told to carry an avalanche transceiver, probe and shovel, a personal locator beacon, a head torch with spare batteries, and map and compass or GPS, because cloud or snow can hide the marker poles that guide summer traffic. The department lists the skills it expects: finding the way when the poles are hidden, knowing where avalanches are a risk, rescuing someone in avalanche terrain, preventing a slide on ice, and surviving worsening weather. Its summary advice is short: go with a guide.
The three sections that decide the summer difficulty ranking invert in winter. The Devils Staircase becomes an ice chute. Red Crater's loose scree freezes into a slope where a slip can slide a long way. The long descent to Ketetahi, merely tedious in summer, becomes a chain of icy steps late in a short day. DOC also cautions that shuttle buses generally do not operate during winter, while guided trips include transport, which quietly reshapes the practical choice for anyone without a car and alpine kit.
Adrift Tongariro's guided tours run in summer and winter alike, with crampons and ice axes supplied for winter conditions if required plus a clothing and footwear allowance, and the operator's guides carry the group over exactly these sections. The Adrift Tongariro half-day guided walk, from $197 per person, rated 4.7 across 27 reviews, spends 4 hours on a shorter route that is not the full Crossing, with return transport included, and it suits walkers who want the volcanic landscape without committing to the whole 20.2 km.
Can A Guided Hike Make The Hard Parts Easier?
A guided hike does not flatten the Devils Staircase or firm up the scree, but it removes the three things that make the hard parts harder: wrong pacing, missing gear and poor weather judgement. Adrift Tongariro runs the three guided tours here, all with a guide, return transport included, and crampons and ice axes supplied for winter conditions if required.
The value shows up at specific moments. On the staircase, the group pace prevents the early burnout that ruins the afternoon. On Red Crater, the guide reads the wind and the group, and decides whether the rim is sensible on the day, within DOC's advisory rules. On the scree, guided groups take an established line and a controlled speed. In winter, the supplied crampons and ice axes, plus the operator's transport, close the gap between an Expert route and a challenging but managed day. None of the shuttles on this site are guided: they are transport to the start and back, which is a real service, but the walking decisions remain yours.
The choice between the two main guided formats comes down to how much of the hard list you want to meet. The premium guided hike, from $253 per person, rated 4.6 across 241 reviews, covers the full Crossing over an 8 to 9 hour day, with a minimum age of 12, group sizes up to 60, free cancellation up to 14 days in advance for a full refund, and lunch not included, so bring your own. The half-day guided walk, from $197 per person, rated 4.7 across 27 reviews, covers a shorter 4-hour route rather than the full Crossing. The premium tour is the one that stands beside you on Red Crater; the half-day is a shorter 4-hour guided walk, not the full Crossing.
There is also a private version of the guided Crossing, the Adrift Tongariro private guided Crossing, from $774.01, rated 4.5 across 30 reviews, only your group, minimum age 12, with crampons, ice axes and all clothing and footwear hire supplied. Note that this tour is non-refundable and cannot be changed, a different cancellation basis than the other two Adrift tours, so it suits groups certain of their date.
What Fitness Do You Need For The Hardest Sections?
DOC rates the required fitness as High and advises the track is not recommended for children under 10. In practice, the fitness that matters is not speed but endurance on legs: the ability to keep moving for 7 to 8 hours in summer, 9 in winter, over steep and undulating ground with 1196 m of climbing and the same again descending.
The people who struggle are rarely the slow; they are the ones who misjudge total load. A useful self-test before committing is whether you can walk four to five hours on hilly terrain on consecutive days without your knees complaining on the descents, because the descent test, not the climb, is what the Crossing actually administers. Training on stairs and downhill paths does more for your day than extra flat kilometres. DOC's own gear guidance, sturdy boots, waterproof layers, hat, gloves, sunscreen, 2 to 3 litres of water, and layers for base, insulation and shell, is written for exactly this load.
Age limits and group sizes are per tour, not per track. The Adrift premium and private guided tours set a minimum age of 12, the National Park Shuttles one-way shuttle sets 8, and the Dempsey Buses round trips exclude children under 6, while DOC advises the track itself is not recommended for children under 10. The ExperienceKart three-day tour from Auckland is not suitable under 12.
| Hard stretch | What makes it hard | When it bites hardest |
|---|---|---|
| Devils Staircase, around 350 m climb to South Crater | Sustained steps at altitude, wet or icy surface outside core summer | Early in the day, before the legs warm up |
| Red Crater ascent to 1886 m | Steep grade, loose rock, wind exposure, cold at the rim | Mid to late morning, when the wind picks up |
| Scree descent to Emerald Lakes | Moving footing downhill, tired stabilising muscles, eye-catching views | Early afternoon, after the crater climb |
| Long stepped descent to Ketetahi Road at 760 m | Thousands of steps, eccentric load on knees, distance fatigue | Late afternoon, when daylight shortens in winter |
Should You Walk Alone Or Take A Shuttle And Guide?
If you are confident in alpine conditions and fit, an independent walk with a shuttle is the cheapest route in: one-way park-and-ride shuttles start from $34 per person, and round-trip shuttles from National Park Village from $42. If any part of the hard list above gives you pause, a guided tour buys pacing, gear and weather judgement from $197 per person.
The economics are straightforward. The cheapest per-person tour tracked on Tongariro Alpine Crossing Tours is the Active Outdoor Adventures one-way shuttle with a secure Ketetahi car park, from $34 per person, rated 4.1 across 81 reviews: you park at the Ketetahi end, ride to Mangatepopo, and walk the Crossing back to your own car, with no return transport. The median per-person from-price across the 14 per-person tours is $43.36, so most shuttle seats cluster in a narrow band. The dearest per-person tour is the Adrift premium guided hike at $253. The park-and-ride and round-trip formats answer different questions, and the car park or shuttle comparison sets them out side by side.
Remember that DOC applies a 4 hour maximum on parking at the road ends from Labour weekend in late October to 30 April, and says there is no parking for Crossing walkers at Mangatepopo car park in summer, which is why the department's own advice is that the best way to do the Crossing is by shuttle. A free DOC track booking, introduced in October 2023, is needed to use a shuttle or guided walk service, and your guide or shuttle operator may make that booking for you.
Whatever format you choose, the hardest part of the Tongariro Crossing stays the same: the loose rock on Red Crater, the grind up to it, and the long knees-down finish.
Common Questions About The Tongariro Crossing
What Is The Hardest Part Of The Tongariro Crossing?
The Red Crater ascent and its loose-rock rim at 1886 m, where a steep climb meets unstable scoria and wind exposure, is the hardest single stretch per DOC's own hazard notes. The roughly 350 m staircase climb to South Crater and the steep scree descent to the Emerald Lakes follow, then the long stepped descent to Ketetahi Road, which punishes tired knees late in the day.
How Long Does The Hardest Section Take?
DOC allows 7 to 8 hours for the full 20.2 km one way from November to April and 9 hours from May to October. The hard sections do not have separate official timings, but the staircase, the Red Crater climb and the scree descent together occupy the middle hours of the day, which is why pacing early matters so much.
Is The Tongariro Crossing Too Hard For An Average Walker?
DOC rates the fitness requirement as High, so it is not a casual walk, but fit walkers who train on hills and take the full 7 to 8 hours complete it regularly. DOC advises the track is not recommended for children under 10. The easy Soda Springs Walk, sharing the first 5.4 km, is a recognised fallback for people without the fitness for the harder parts.
Does A Shuttle Make The Walk Easier?
A shuttle removes the parking and logistics problem, not the physical difficulty. DOC applies a 4 hour maximum on road-end parking from Labour weekend to 30 April and suggests booking a shuttle, and one-way park-and-ride seats start from $34 per person. The walking, including every hard stretch, remains yours.
Do You Need A Guide For The Hardest Parts?
Not in summer if you are experienced and equipped, but in winter DOC's advice is to go with a guide, because the track becomes an Expert route requiring crampons, ice axe, helmet and avalanche competence. Adrift Tongariro's guided tours supply crampons and ice axes for winter conditions if required and include return transport, which DOC notes shuttles generally do not run in winter.